 Sophie posted a comment last time asking where to get the pattern for the Hartfield Gloves. It's a Knitty online pattern called Verdigris, by Rosemary Hill who, by the bye, is very nice.


Progress
1 week ago
Sophie posted a comment last time asking where to get the pattern for the Hartfield Gloves. It's a Knitty online pattern called Verdigris, by Rosemary Hill who, by the bye, is very nice.
 But now, this is my level. I'm not afraid to read charts. To work with thinner yarns.
  Complicated? Maybe. But it's like when I was learning to drive. I was taught that, when you're driving in the rain, a ball bounces in front of you, and another car is headed toward you, SLOW down. When you slow down, many problems sort themselves out before they even get to you. I think life is like that, too.
 However, I have to have a little fun. I've been just speeding along on a project with no deadline. Another pair of what? Socks. Of course. You know I've got to make socks. It's turned into a compulsion.
  This one takes some attention, but I'm okay with that. These are called Dippers. The author says that the pattern looks like honey dippers. Really? If you say so.
 On either side of our dining room hangs a strand of twelve tiny stockings. I made these stockings a few years ago and Tiny has loved 'em ever since. They're big enough to hold a few pieces of candy, a lip balm, a gift card, or any number of tiny things from a Korean gift shop that Tiny is partial to.
 Why bother growing up when the toys are still good?


If this process doesn't appeal to you, I've decided to offer my services to do it for you. That's right. I can be bought. Well, rented, anyway. Just contact me here on my blog and we'll have a chat.
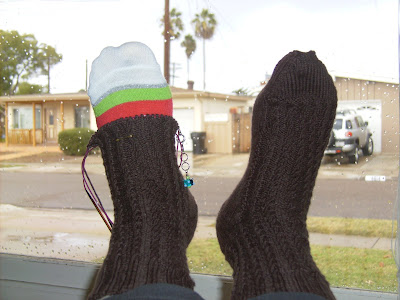 Chocolate Kisses--the Original--was done to pattern until it disappointed me by ending too soon. I had to finish the ball of the foot and the toe in my standard sock style. I even had to frog (rip-it) back over the toe a second time because it was still too short. But I finally got it done.
 And... my goal of reading all six of Jane Austen's published novels this year is completed! Now, that's a good feeling. The funny thing is that if you asked me which one was my favorite, I'd have to say, almost without exception, whichever one I was reading at the time. The last one I read was Northanger Abbey: I think it was the best one for me. But it couldn't make a good teleplay or movie without a narrator. Jane was really quite present in the story: she had a wry wit about her own stories and the popularity of "horrid novels." So there was a regular interruption in the tale, explaining why the main character wouldn't be a good heroine or that nothing intervened to stop her from meeting someone important. This was certainly the funniest. And therefore the best.
 This sock has it in for me. After all the attention and almost monogamous knitting I've given to it, you'd think it would be grateful. Loving. Appreciative. But no. It hates me. How do I know it hates me? Let me enumerate.
 Speaking of hiking, I'm up to 97 geocaches found--almost to my first milestone of 100. One of the most recent was amazing: Pirate Landing. The cacher went over the top on this one: burlap and leaves were glued to the top of the container and the whole thing had a serious pirate theme. Very cool!
 Look at all these little parts. What could these bits and bobs be when assembled? Here's a hint:
 The answer will be revealed at the bottom of this post.
 I've gotten more work done on Chocolate Kisses Socks. They're close to brainless, which makes them a perfect TV watching project. Speaking of TV, I just got the news that Dollhouse has been cancelled. It's one of my current faves and I'll be sad to see it go.
 Are you ready? Do you have your guess?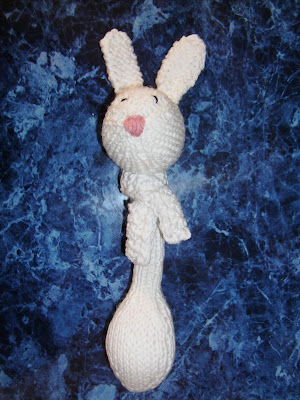


 Now to the work: This is for a piece that will be lined, with fabric covering the inside. For this reason, I will leave knots and not bother with burying the ends.


Continue like this until you can say, "Aw done!"  If you're lining the piece, as I am, you don't have to weave in the ends. Don't cut 'em too close, though. Leave tails on the back for extra security.
 Jasmin suggested I add beads to the front, so I did. Just a little, under each bobble. The center one doesn't get a bead because it acts as the toggle in the loop closure. As a very obvious person, sometimes I like a little subtlety.
 And here it is! Ready for lining. I may just do a photo tutorial on that later.





.jpg)


